Getting started with SAMP Hosting
We're overjoyed to announce that our service is officially live. Here's how to create a high-performance SAMP server in just a few minutes!
Last week was an exciting time for us here at SAMPHosting. We're overjoyed to announce that our service is officially live. You can now create a high-performance SAMP server with dedicated resources in just a few minutes!
Of course, there's more work to be done yet, and we have various plans for the future. For now, though, we're going to take this opportunity to show you how to get started with SAMP hosting – whether it's for you and a few friends or a large community.
Here's quick guide to creating your first server on SAMPHosting:
- Sign up for a SAMPHosting account
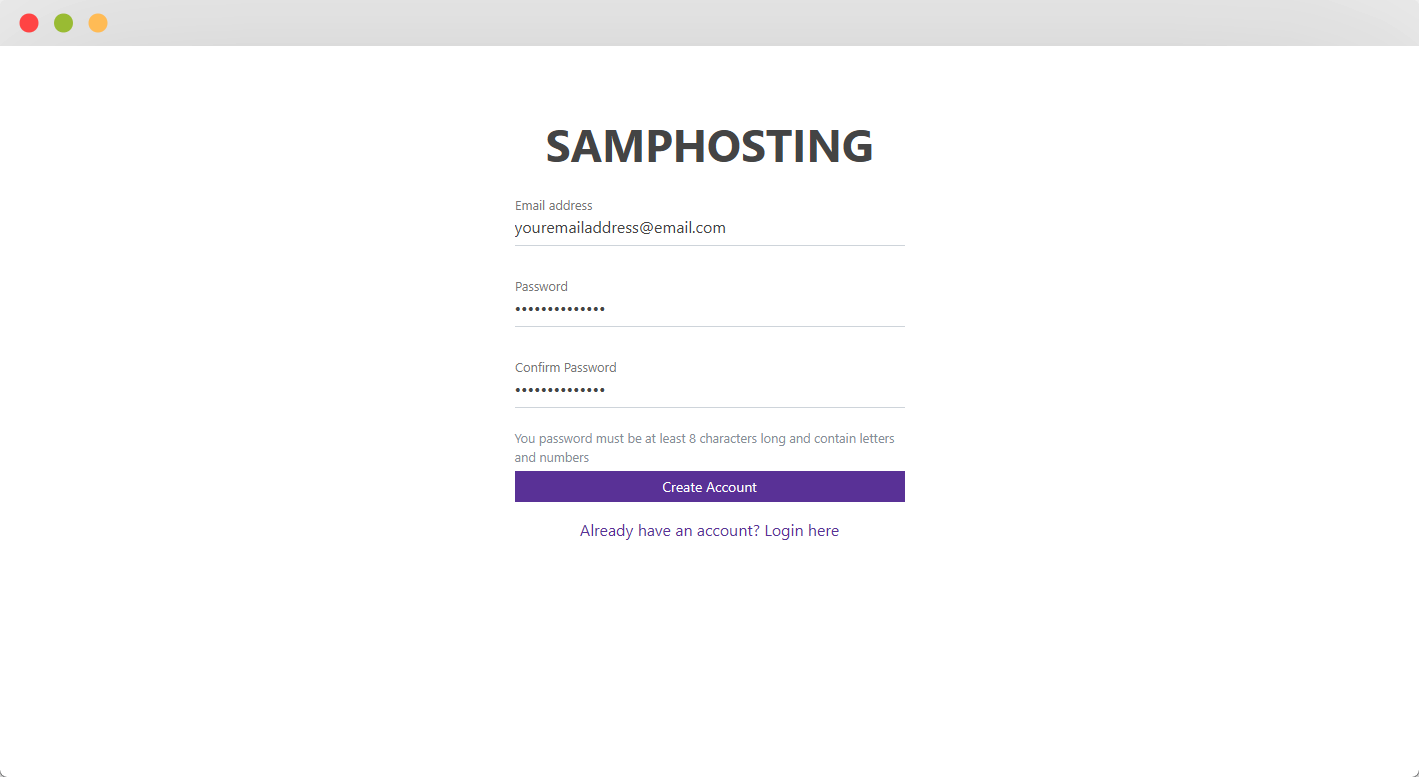
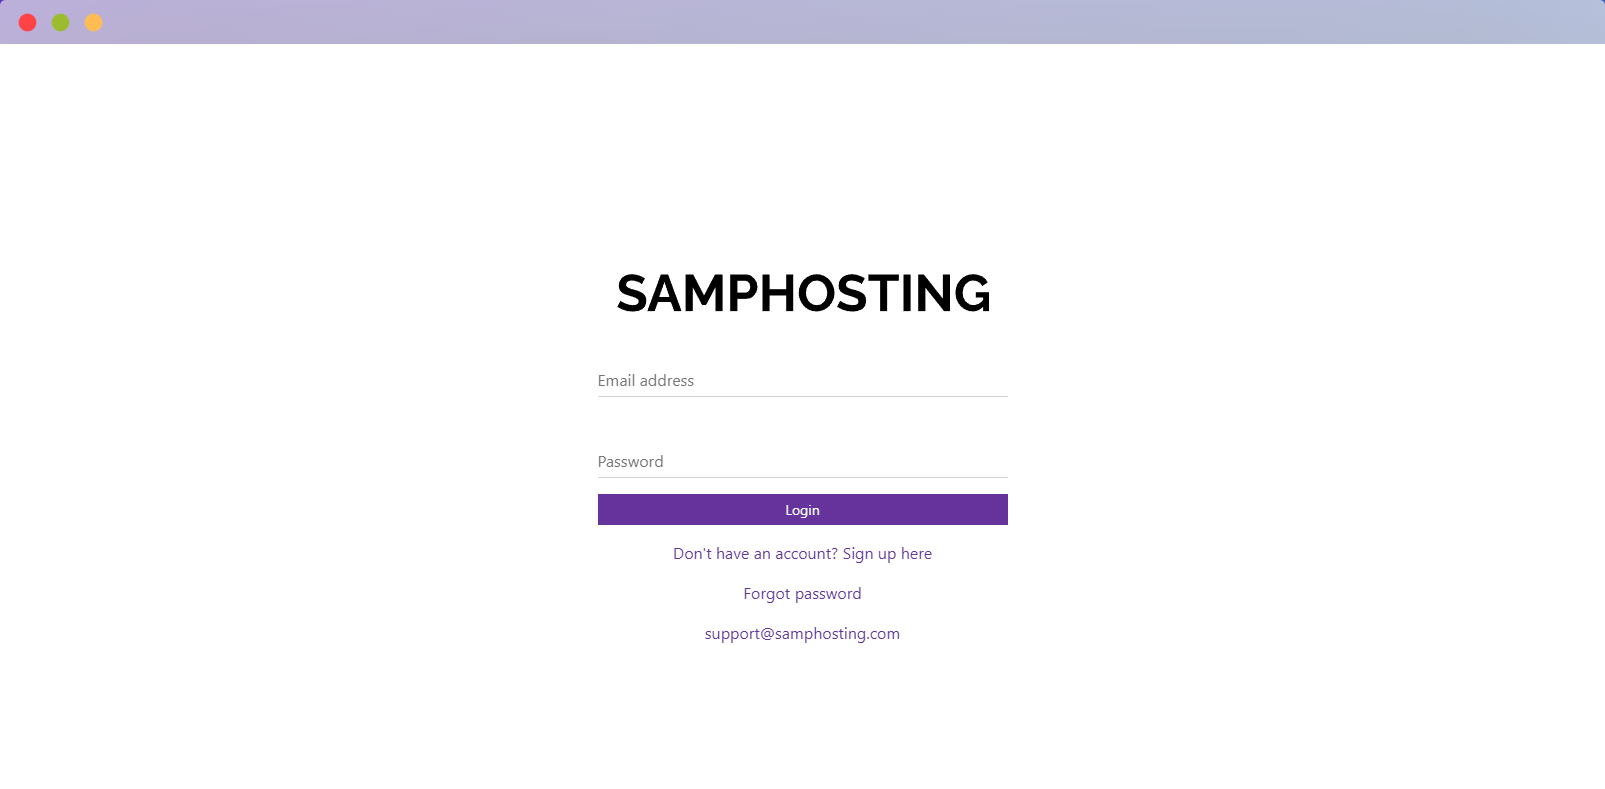
Signing up for SAMPHosting is probably a lot easier than you're used to. We only ask for an email address and password, with no email confirmation required. You can create an account here.
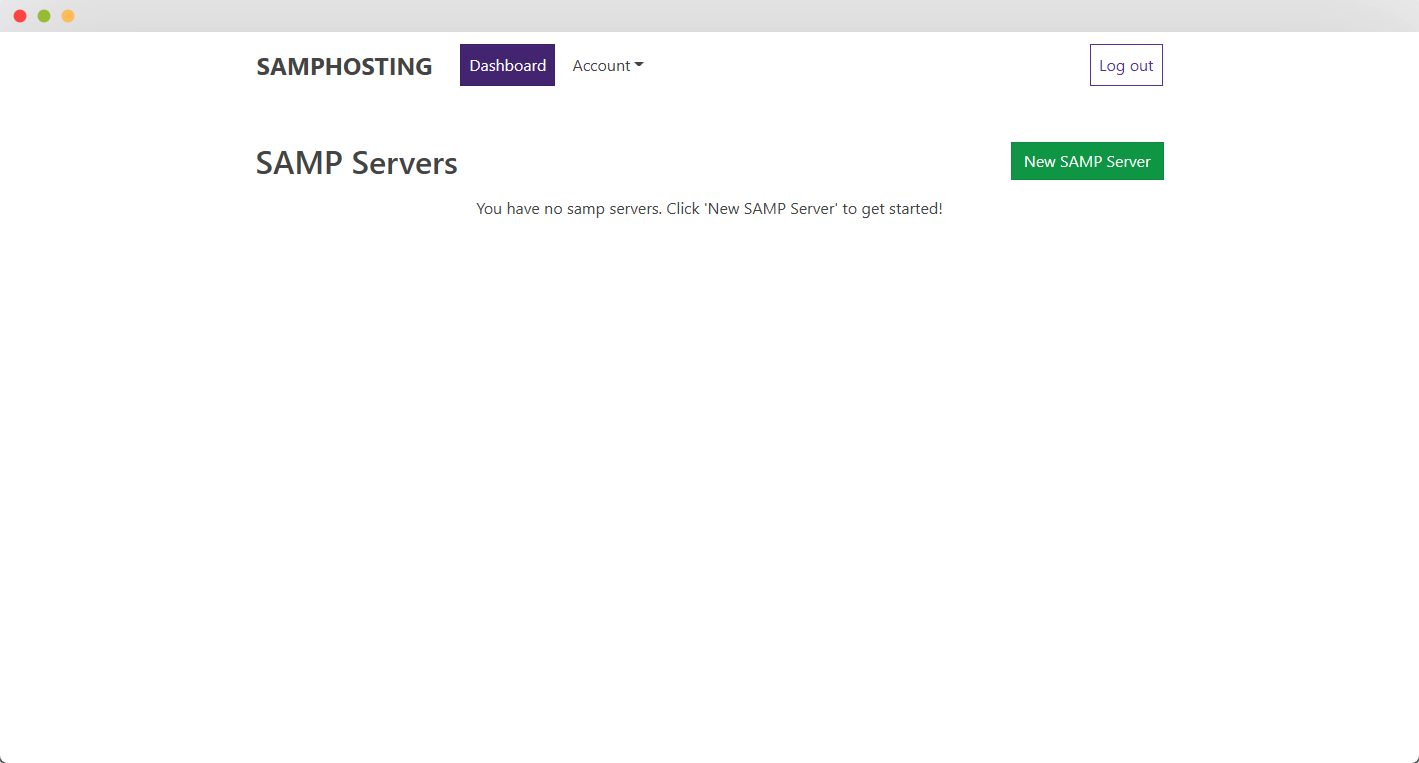
2. Log in to your account and press "New SAMP Server"
3. Choose your hosting plan and location
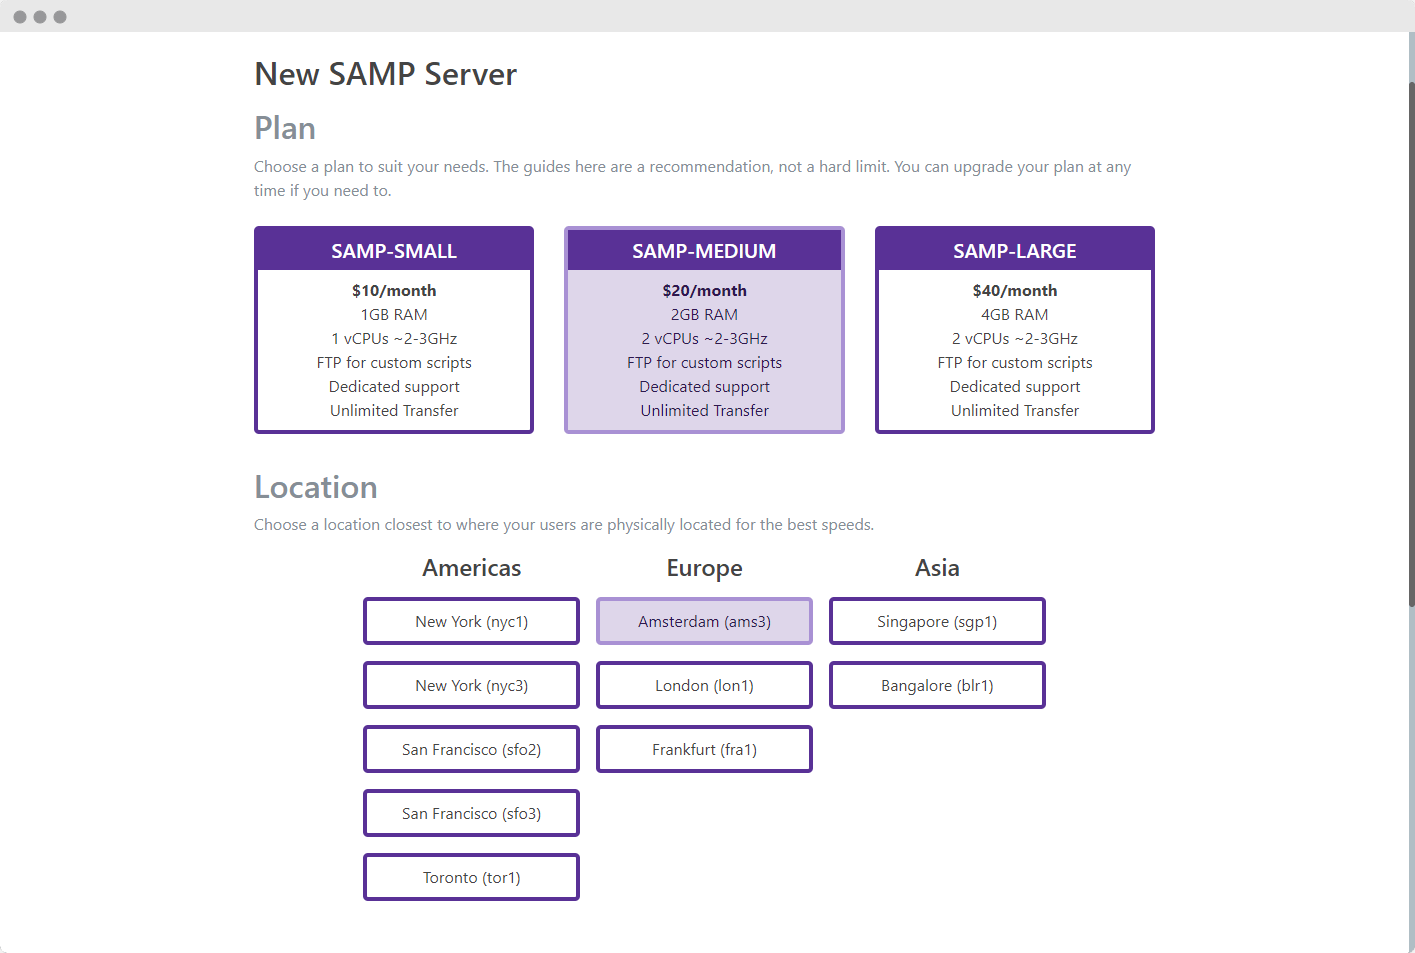
When choosing your plan, it's best to balance what you think your community needs versus the initial cost. If you're just starting out, you should know that you can upgrade at any time – so it's entirely possible to add more server resources as your SAMP community grows!
You should choose the server closest to where the bulk of your users will be located. SAMPHosting currently offers locations in the Americas, Europe, and Asia. Please be aware that data center availability may fluctuate with demand.
4. Type in your server name, password, and max player count
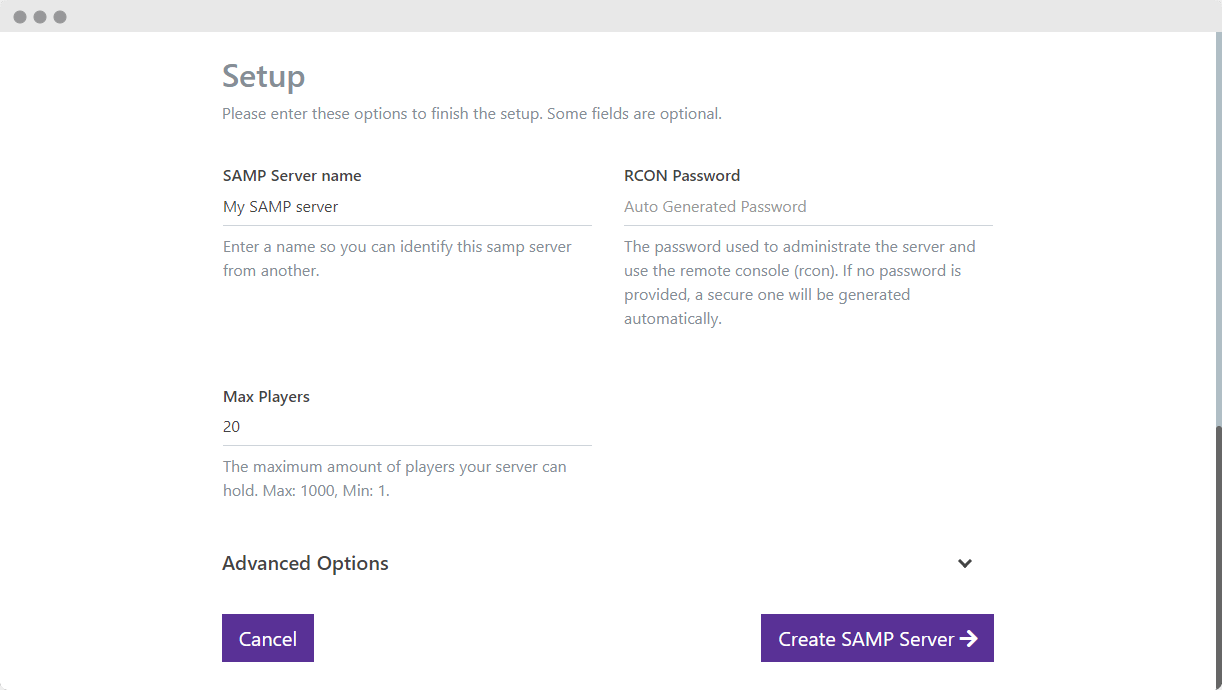
These details are technically optional. If you do not provide this information, we'll auto-generate them for you when you press the "Create SAMP Server" button. Just be aware that it will be harder to change them later.
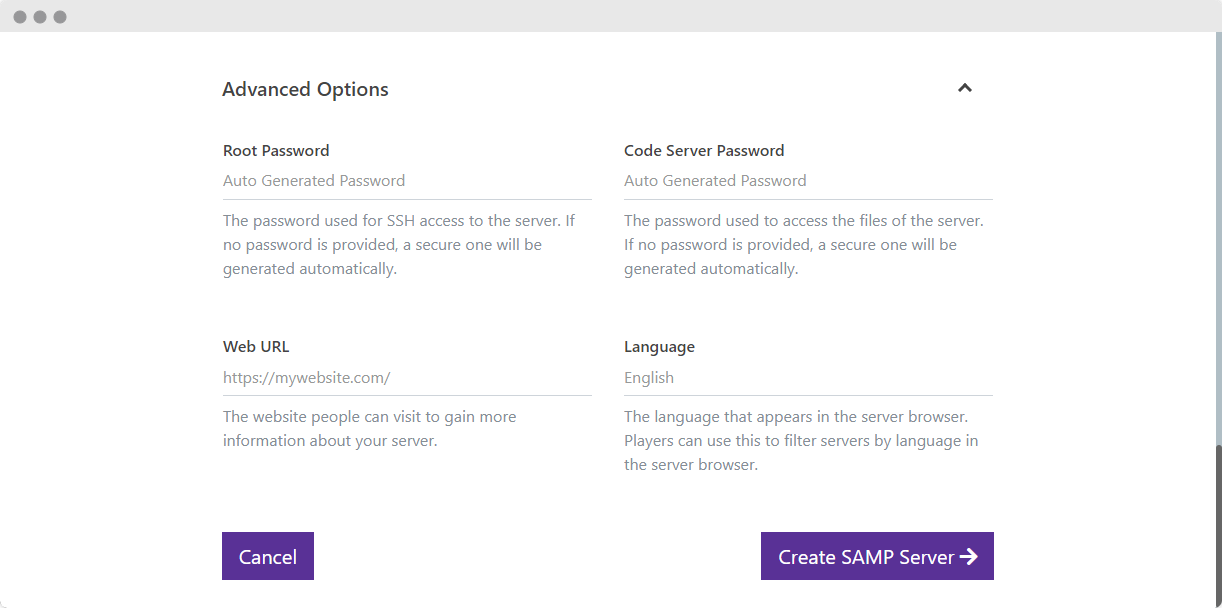
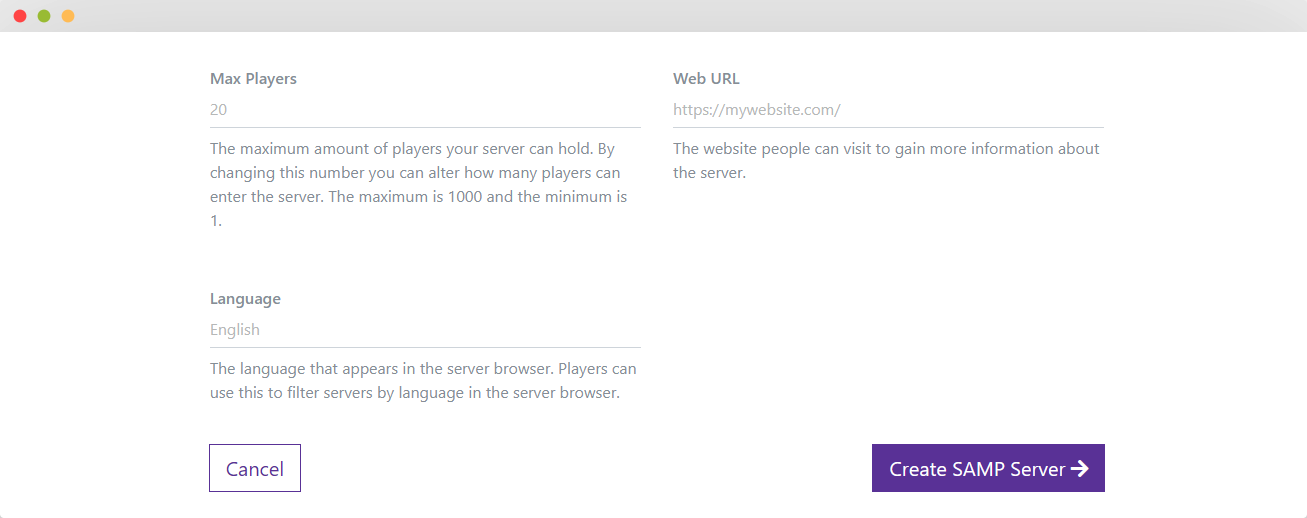
5. Expand the "Advanced Options" heading and fill in any details there
The advanced options section will allow you define a root password, code server password, website URL, and language.
6. Press "Create SAMP Server"
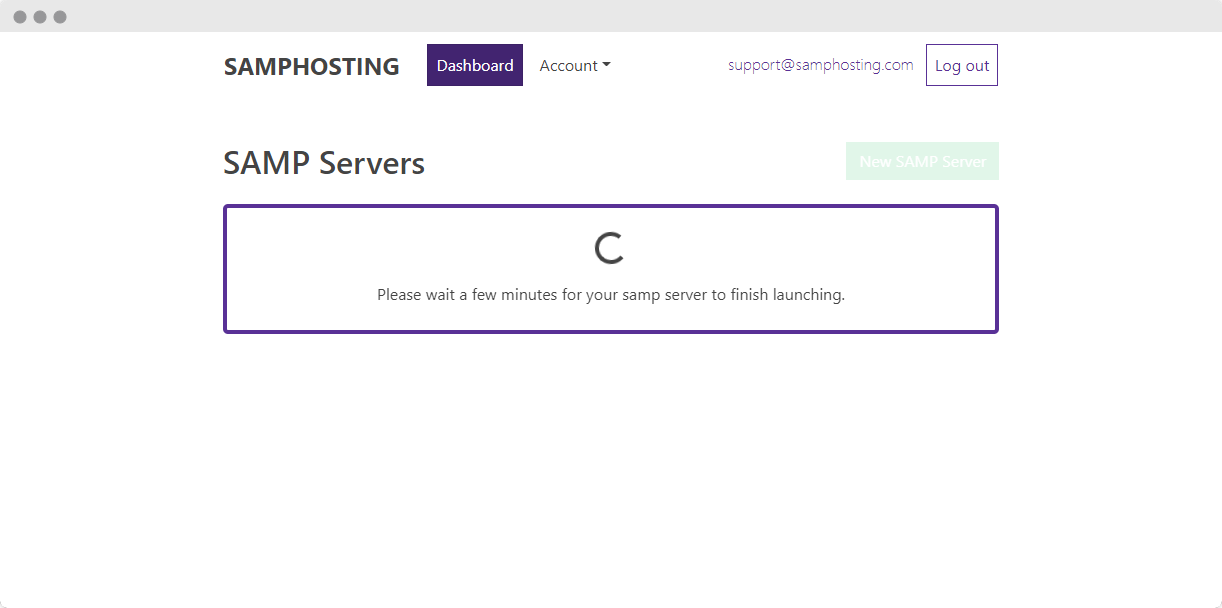
7. Wait a few minutes for your SAMP server to finish launching
8. Try your server for up to two hours and press the "pay now" link when you want to activate your subscription.

9. On the order screen, hit "Proceed To Checkout" and pay for your server
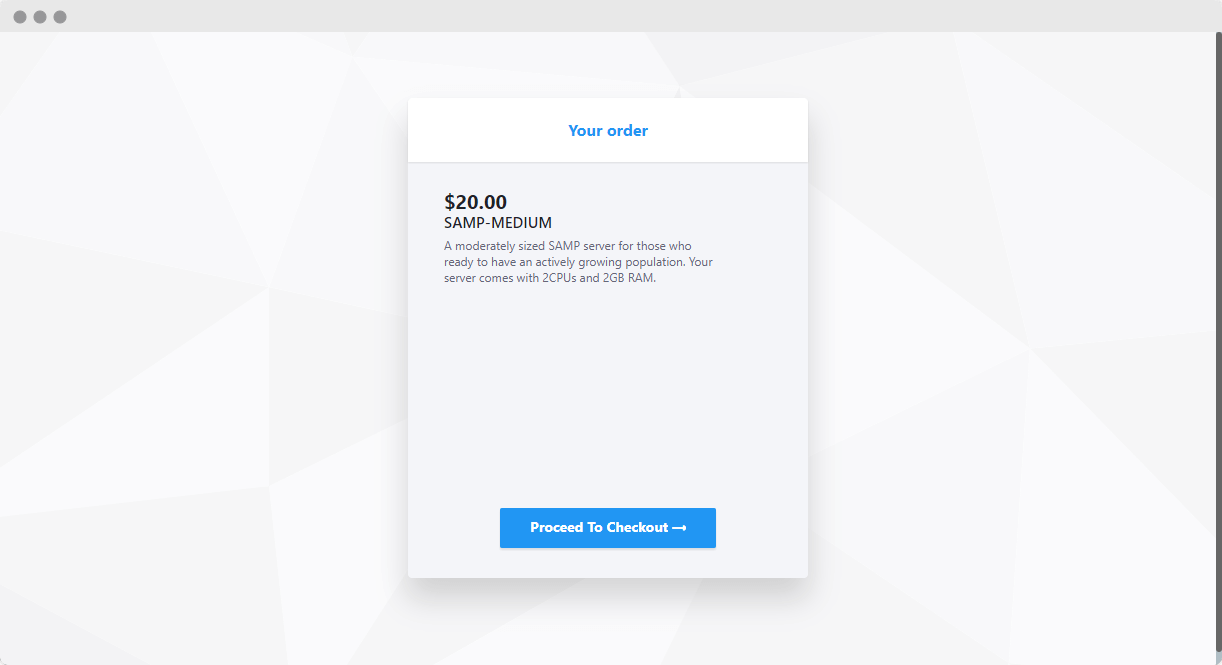
There you have it! You can start building your community and scripting your server to your heart's content. You'll see your server details in your portal to connect to through RDP, FTP, and your game client.
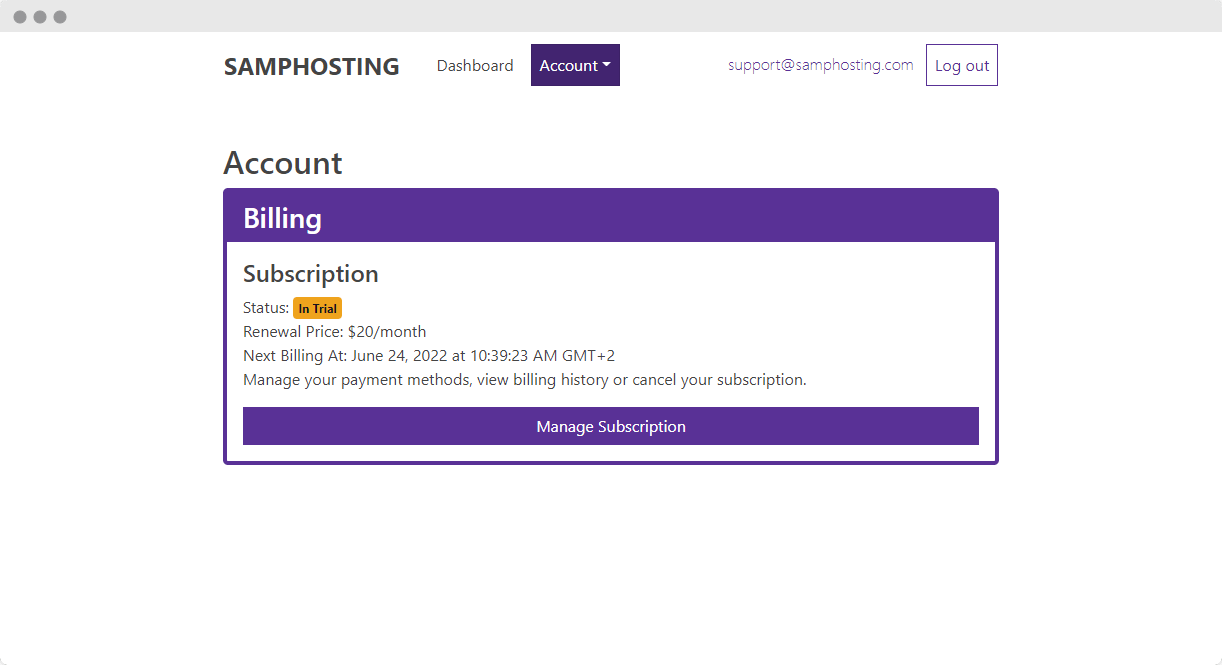
You'll find your personal information, Activity log, and billing info in the "Account" section.
Happy hosting from all of us at SAMPHosting! Don't be afraid to reach out to our support team if you need help.